If you’re new to screen printing, learning to coat a screen properly is one of the most critical steps in the process. It’s the foundation upon which you’ll build your stencil, and without a well-coated screen, even the best designs can fall flat. Don’t worry—coating a screen might sound complicated at first, but with some simple steps and a bit of practice, you’ll be coating screens like a pro in no time.
What Does It Mean to “Coat” a Screen?
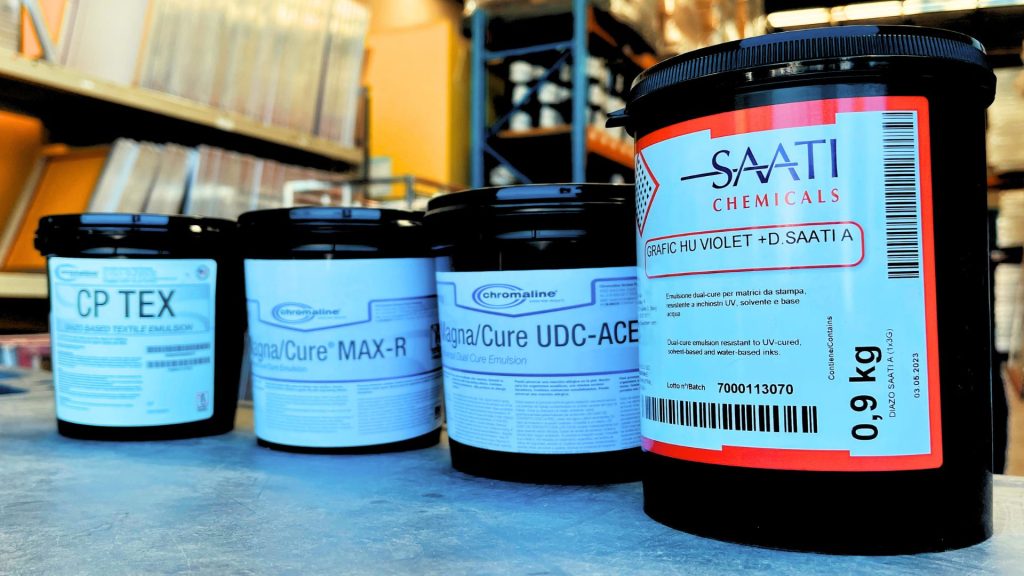
Coating a screen means applying a light-sensitive emulsion onto the screen mesh to create a stencil for your design. The emulsion is like a photosensitive paint that reacts to light—think of it like a Polaroid film for your screen. The coated screen will help control where the ink passes through, allowing you to print detailed and consistent designs.
To make things even simpler, imagine the screen is like a window covered in frost. By scratching away the frost in the shape of your design, you allow light (or in this case, ink) to pass through only in those areas. This is what you achieve with a stencil, and coating is the first step in creating that stencil.
What You Need to Coat a Screen
Before we jump in, here’s a list of tools and materials you’ll need:
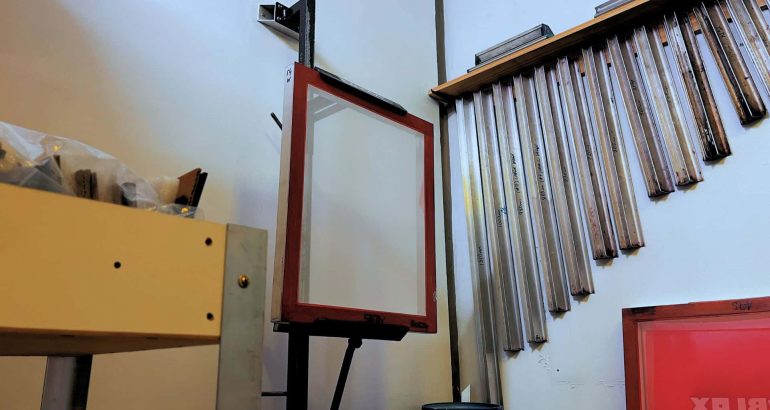
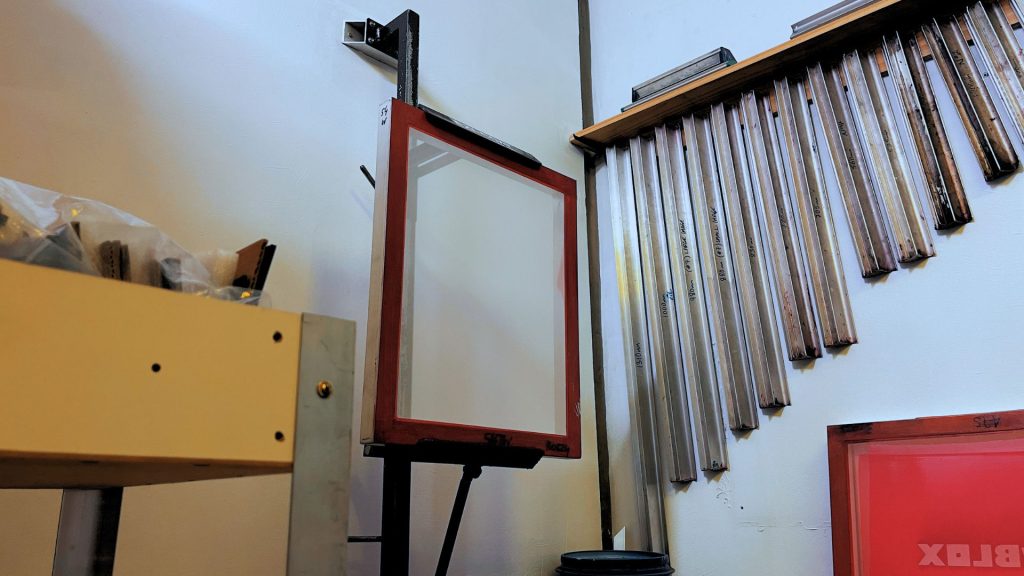
Screen Mesh: The frame with a fabric mesh stretched tightly across it. This is where the magic happens.
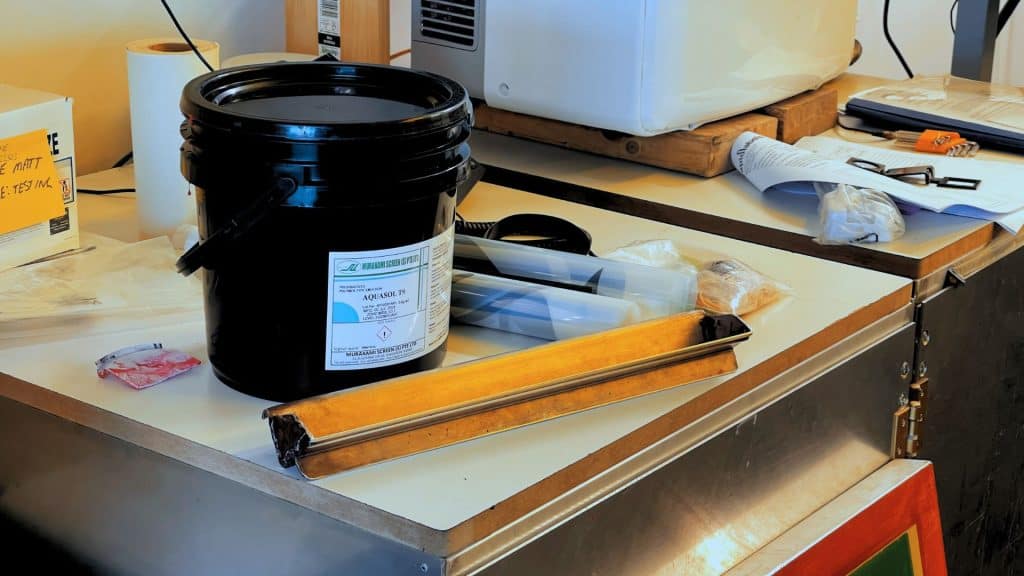
Emulsion: A light-sensitive liquid that will harden where exposed to light, blocking ink from passing through.
Scoop Coater: A tool that looks a bit like a squeegee but has a trough to hold the emulsion.
Drying Cabinet: A clean, dark place to dry your coated screen. If you don’t have a cabinet, a dark, dust-free room will work too.
Yellow Safelights: Since emulsion is sensitive to light, work under yellow lights to avoid unwanted exposure.
Step-by-Step: How to Coat a Screen Perfectly
1. Prepare Your Workspace and Materials
Before you start, make sure you’re working in a clean environment. Dust and dirt can ruin a coated screen, causing imperfections in your prints. Ideally, use yellow safelights to avoid exposing the emulsion while you work.
Ensure your screen is clean and degreased. You can use a mesh degreaser, such as Chroma/Clean™, to thoroughly clean both sides of the screen. This will remove any oils or residues that could prevent the emulsion from sticking evenly.
2. Mix Your Emulsion (If Necessary)
Some emulsions are ready to use right out of the container, while others require mixing with a diazo sensitizer to activate them. If you need to mix your emulsion, follow the instructions on the bottle carefully. Once mixed, let the emulsion sit to allow any air bubbles to dissipate—bubbles can create pinholes in your stencil if they’re not removed.
3. Fill the Scoop Coater
Now it’s time to get your scoop coater ready. A scoop coater is a trough-like tool that holds your emulsion, much like a painter’s tray holds paint. It has two edges: one rounded and one sharp. Beginners usually find that starting with the rounded edge is easier to control.
Pour a generous amount of emulsion into the scoop coater—about halfway full is usually enough. You want enough emulsion that it spreads evenly, but not so much that it overflows.
4. Coat the Screen: Let’s Do It!
Now the fun begins. Hold your screen vertically in front of you with the print side facing you. The print side is the one that will be touching the fabric when printing, and the squeegee side is the side that faces you while printing.
Here’s how to coat:
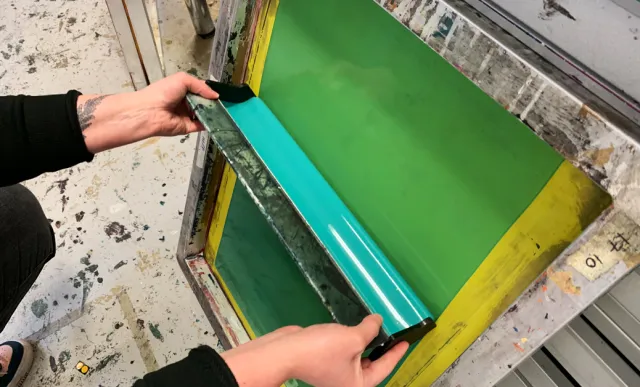
Position the Scoop Coater at the Bottom: Place the scoop coater at the bottom of the screen with a slight tilt (about a 45° angle). The scoop should be touching the mesh but not pressing against it too hard.
Pull Up the Screen: Slowly and steadily pull the scoop coater upwards, maintaining even pressure. The goal is to let a thin, even layer of emulsion flow through the edge and coat the screen. Think of it as spreading icing on a cake—you want it to be smooth, without too much pressure that would leave gaps.
Flip and Repeat: After you’ve coated the print side, flip the screen over to the squeegee side and coat that side too. Some beginners find that one coat on each side is enough, while more experienced printers may apply additional coats for a thicker stencil.
5. Dry the Screen
Once your screen is coated, it’s time to dry it in a horizontal position, with the print side facing down. This helps gravity keep the emulsion even across the mesh.
Dark Room: Emulsion is light-sensitive, so make sure your screen dries in a dark, dust-free environment. A drying cabinet is ideal, but you can also use a closet or any dark, well-ventilated space.
Temperature and Humidity: For the best results, dry your screen at temperatures between 75°F and 85°F (24°C to 29°C), with low humidity. Excess moisture can cause issues, such as the emulsion not hardening properly.
Allow your screen to dry thoroughly. Depending on the conditions, this can take anywhere from a few hours to overnight. Make sure the screen is completely dry before moving on to the exposure step.
6. Check for Evenness
Once your screen is dry, check the emulsion for evenness. Hold it up to a light (in a safe, yellow light room) and make sure there are no streaks or thin spots. If you notice uneven coating, you may need to start over with a fresh coat. It’s better to spend extra time now than to end up with a poor-quality print later.
Tips for Beginners
Practice Makes Perfect: Don’t be discouraged if your first few screens aren’t perfect. Coating a screen takes practice, and it’s normal to make mistakes as you learn.
Less is More: Use a consistent and light touch when coating the screen. If you apply too much pressure, the emulsion can come out uneven or get squeezed out of the mesh altogether.
Avoid Over-Coating: More is not always better. Typically, one or two coats on each side is enough to create a stencil that’s durable yet easy to wash out. Over-coating can lead to thick stencils that are difficult to expose properly.
Troubleshooting Common Issues
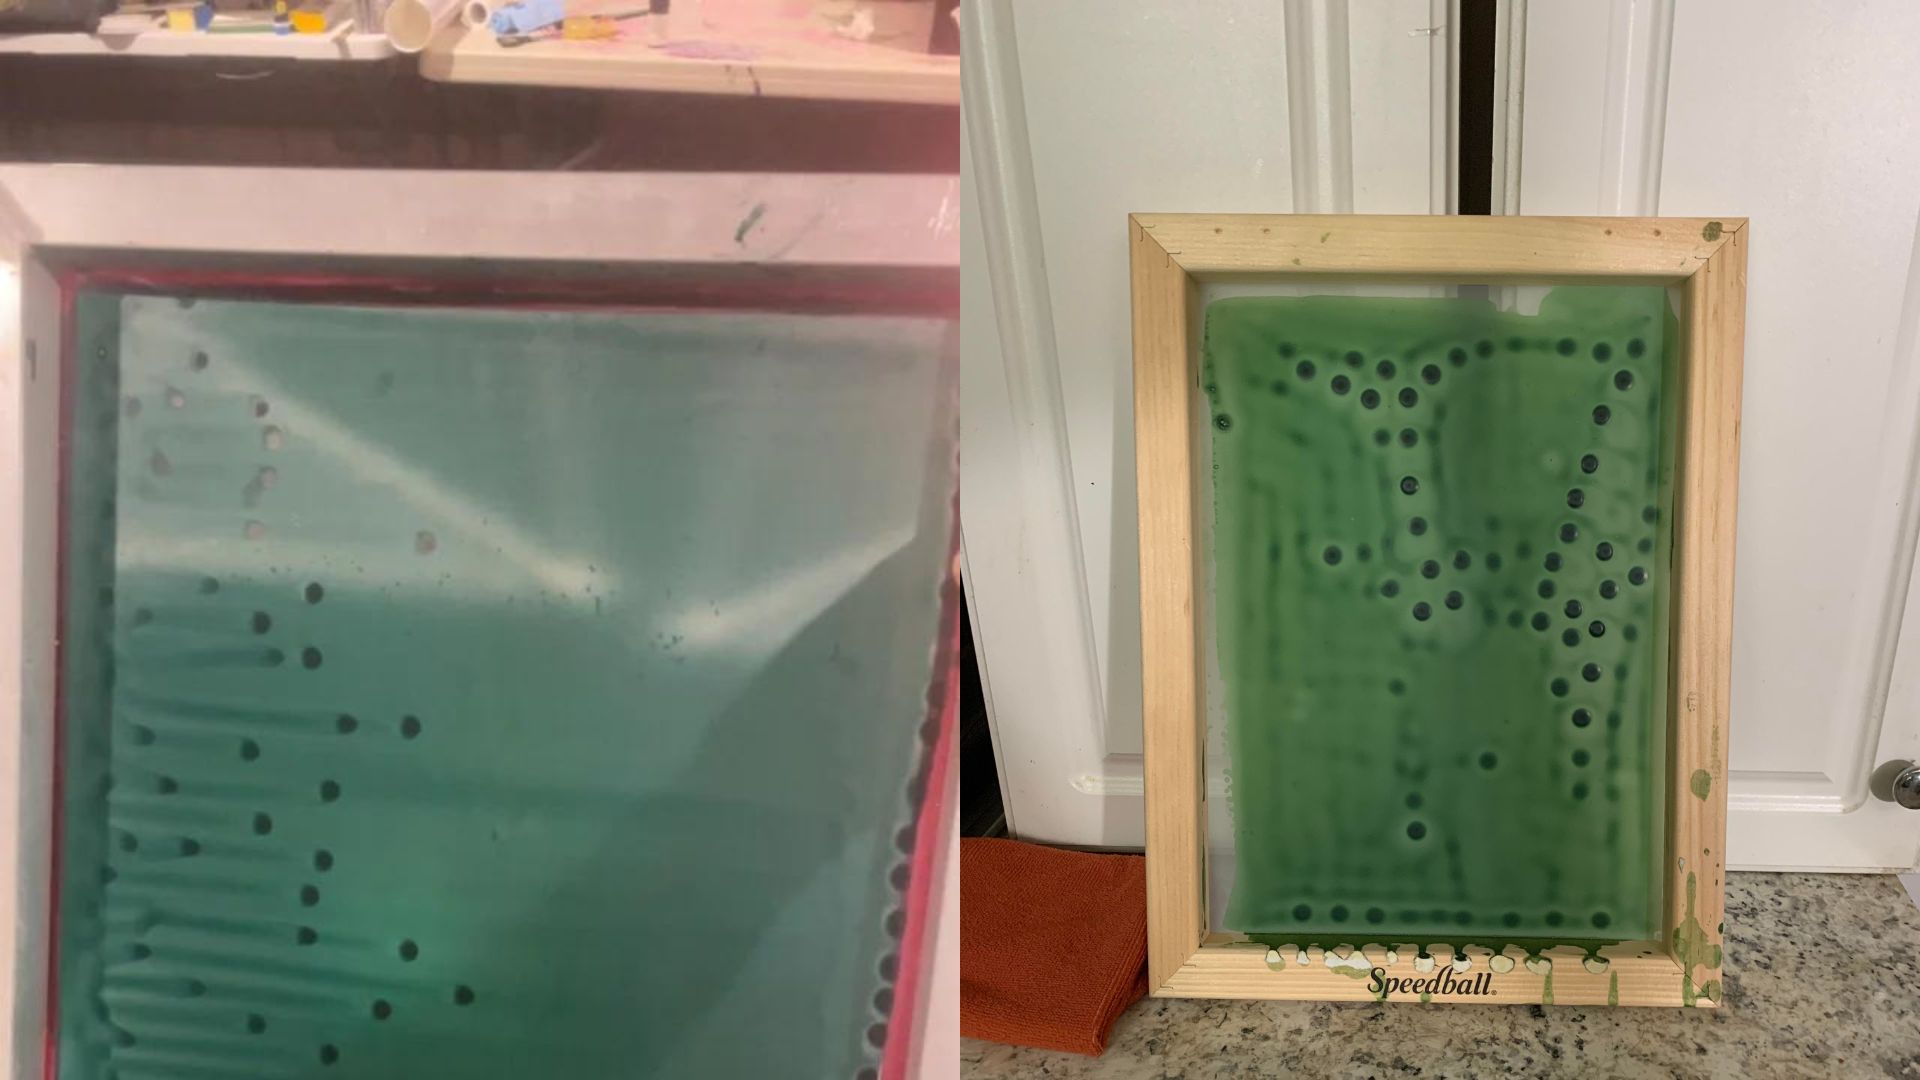
Streaks in Emulsion: Streaks usually happen when the scoop coater isn’t level or if you’re not applying even pressure. Try slowing down and maintaining a steady angle.
Pinholes in the Stencil: Pinholes can be caused by dust or air bubbles. Make sure your workspace is clean, and let the emulsion sit after mixing to get rid of bubbles.
Emulsion Dripping Off: This can happen if you use too much emulsion or press too hard. Always start with a moderate amount of emulsion and adjust your pressure.
Conclusion: Mastering the Art of Screen Coating
Coating a screen perfectly is an essential skill in screen printing, especially for beginners. It’s the key to creating beautiful, consistent prints, and while it can take a little practice to get just right, it’s not as intimidating as it may seem.
By following these simple steps—cleaning your screen, properly using a scoop coater, and ensuring an even dry—you’ll soon master the art of screen coating. Remember, every expert printer started as a beginner, and each screen you coat will teach you something new. Embrace the process, stay patient, and before long, you’ll be on your way to producing amazing screen prints!
Recommendations
